Instructions & Videos
ATLANTIC & PACIFIC SPA ASSEMBLY
Read Product Manual Here
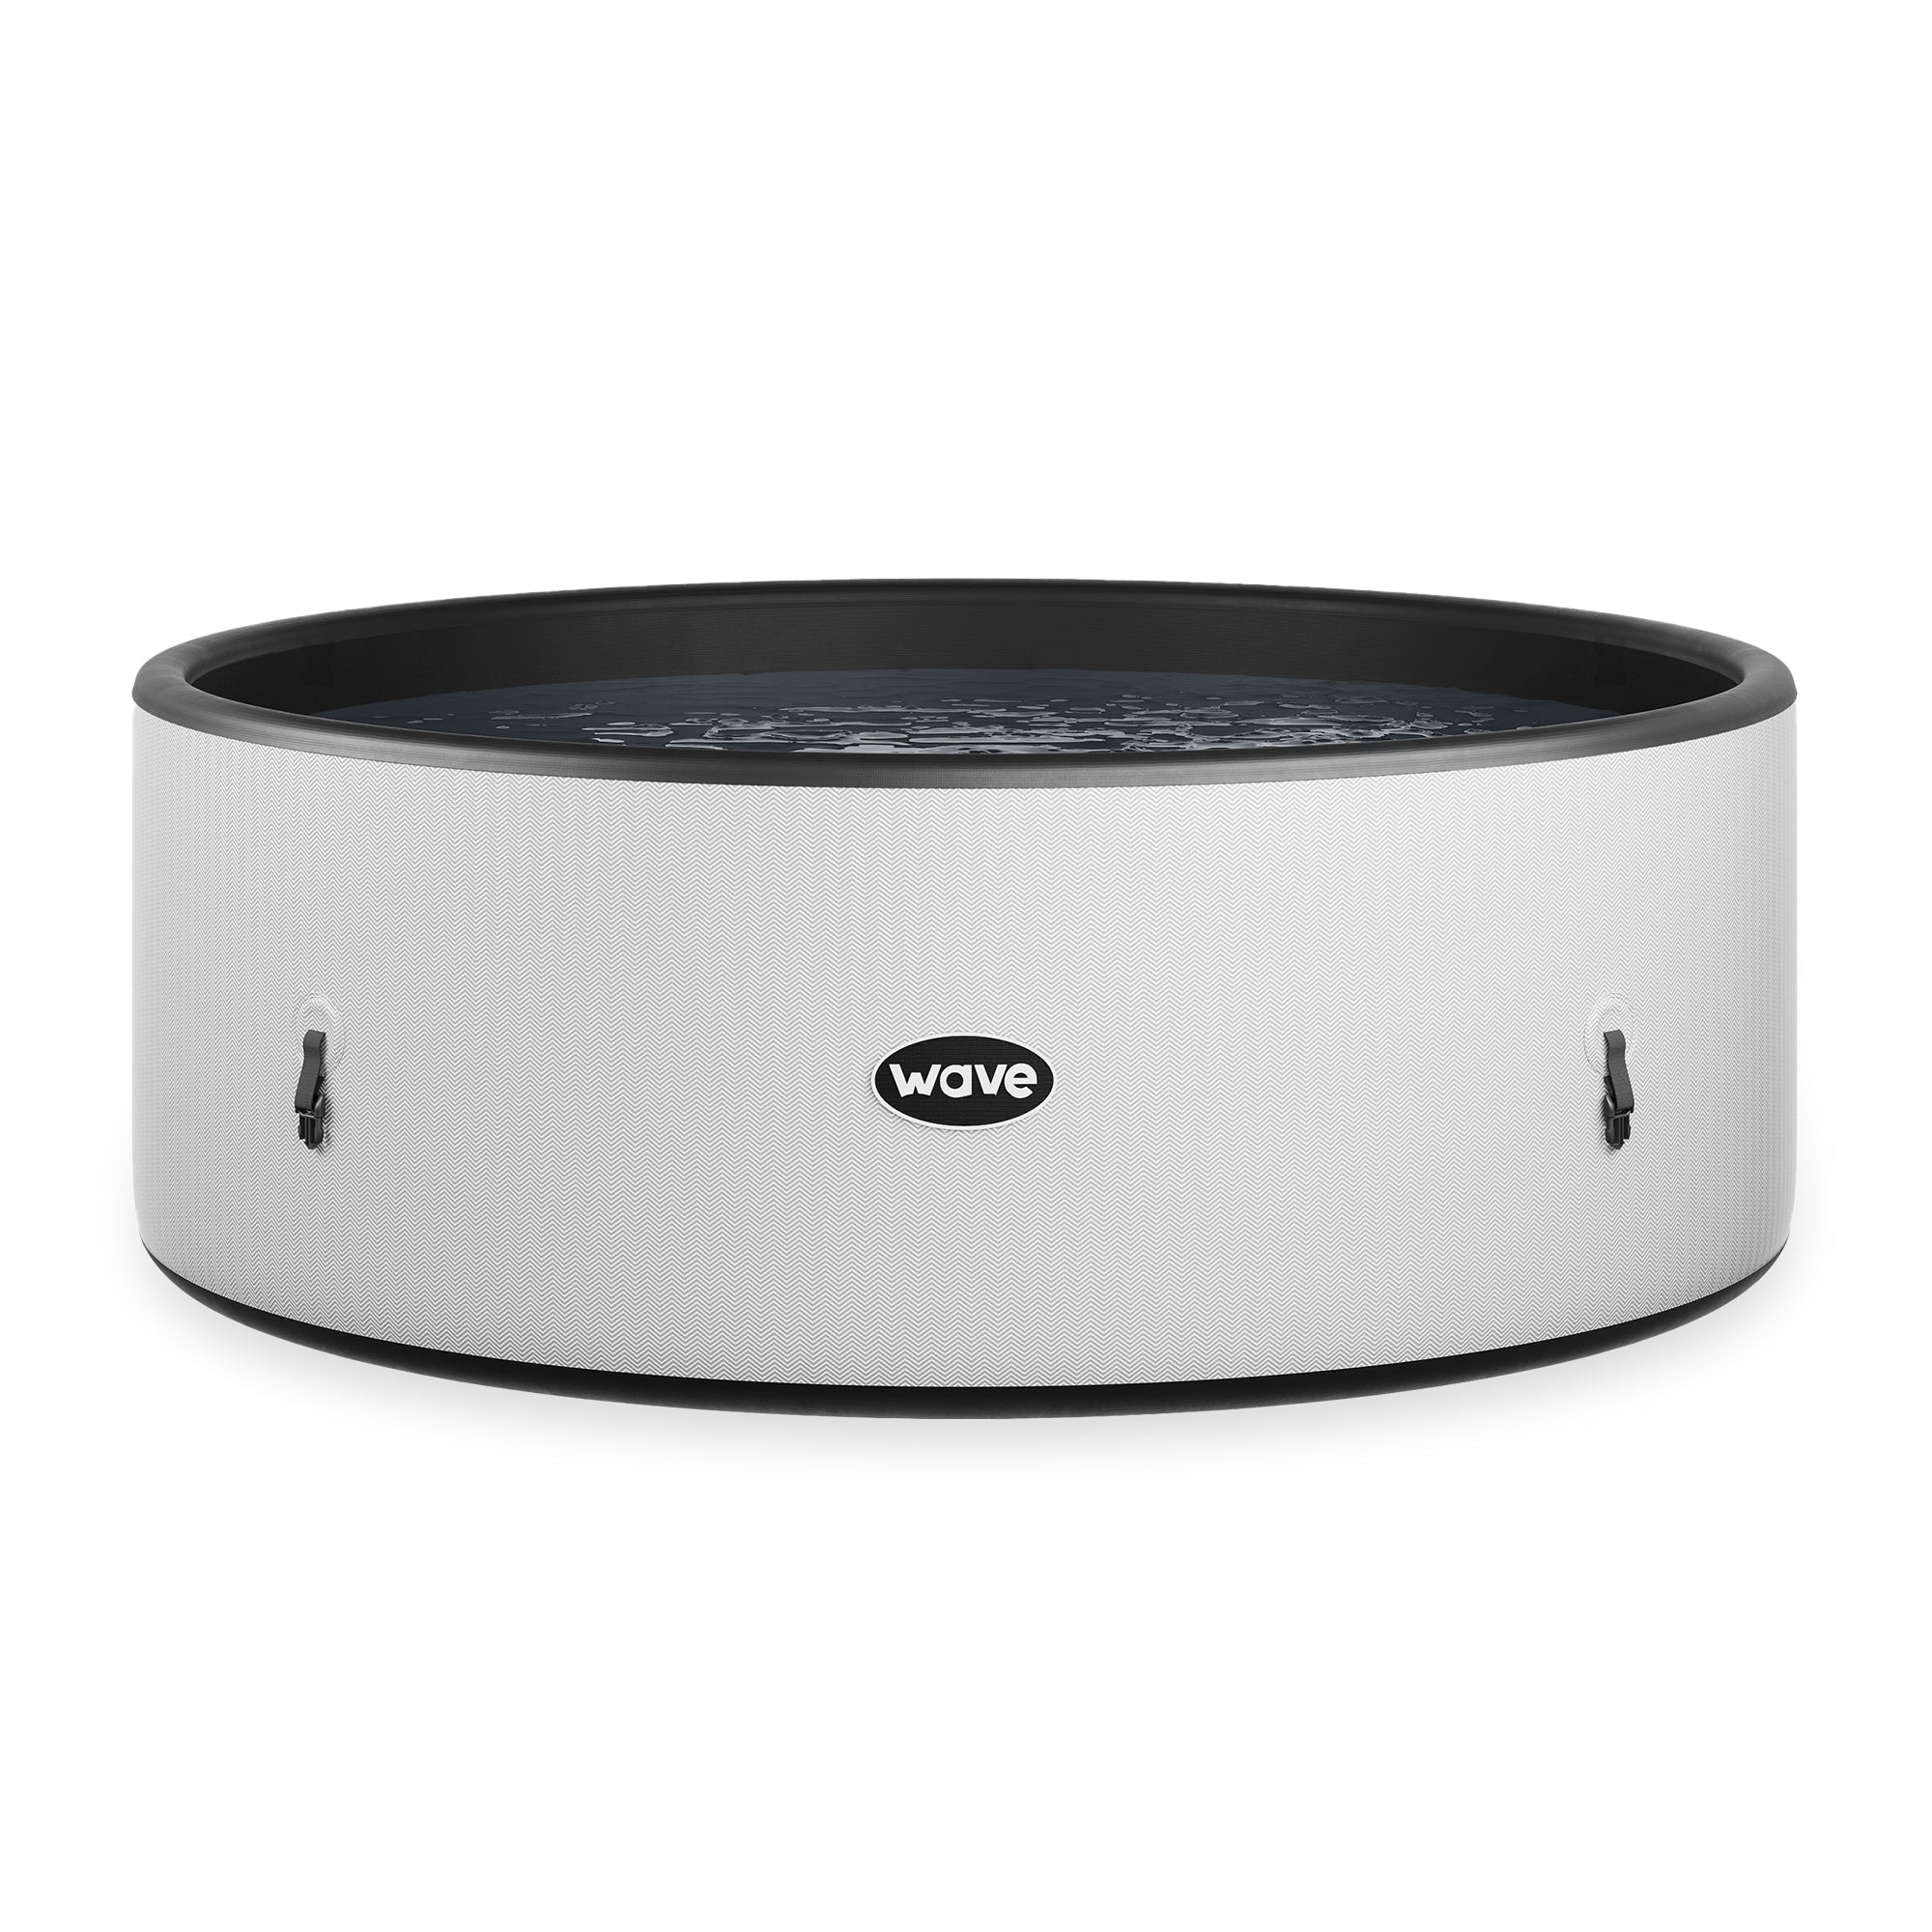
Our Atlantic and Pacific inflatable tubs are designed for instant, painless inflation.
Simply unfold the hot tub over the groundsheet (you don’t want to scuff your spa on first use!), assemble your connectors before you commence with inflation and connect your inflation hose up to the heater unit/pump.
Ensure that the connectors correspond to the icons on the heater unit valves. Once you’ve inserted the hose into the air valve on the hot tub body, press the massage button on the bottom left of the control panel and within 1 minute your spa will be upright!
Further inflating to your desired firmness can be administered via the accompanying hand pump. You can now remove the inflation hose, tighten the valve and screw the cap firmly in place.
With the 3 previously inserted connector pipes, connect them to the corresponding sockets on the heater unit – they will visibly match up. Ensure your interior drain cap is closed, affix your filter and filter housing ((you will find these stored in your heater unit) to the lower suction point in the tub, smooth out the wrinkles, and you’re ready to fill!
Clip on your cover, set the temperature to max via the upwards arrow buttons on the control panel, sit back and let the pump do the hard work!
ROME & CALIFORNIA SPA ASSEMBLY
Read Rome Product Manual Here
Read California Product Manual Here
Our hi-pressure range can be inflated as simply as the Atlantic and Pacific range.
Simply unfold the hot tub over the groundsheet (you do not want to scuff your spa on first use!), assemble your connectors before you commence with inflation and connect your inflation hose up to the heater unit/pump.
You need to connect the shortest of the 3 connectors to the grey valve. Once you’ve inserted the hose into the air valve on the hot tub body, press the massage button on the bottom left of the control panel and within 1 minute your spa will be upright!
Further inflating to your desired firmness can be administered via the accompanying hand pump. You can now remove the inflation hose, tighten the value and screw the cap firmly in place.
With the 3 previously inserted connector pipes, connect them to the corresponding sockets on the heater unit – they will visibly match up. Ensure your interior drain cap is closed, affix your filter and filter housing ((you will find these stored in your heater unit) to the lower suction point in the tub, smooth out the wrinkles, and you’re ready to fill!
Clip on your cover, set the temperature to max via the upwards arrow buttons on the control panel, sit back and let the pump do the hard work!
SWIFT & OSAKA RIGID FOAM SPA ASSEMBLY
Read Swift Product Manual Here
Read Osaka Product Manual Here
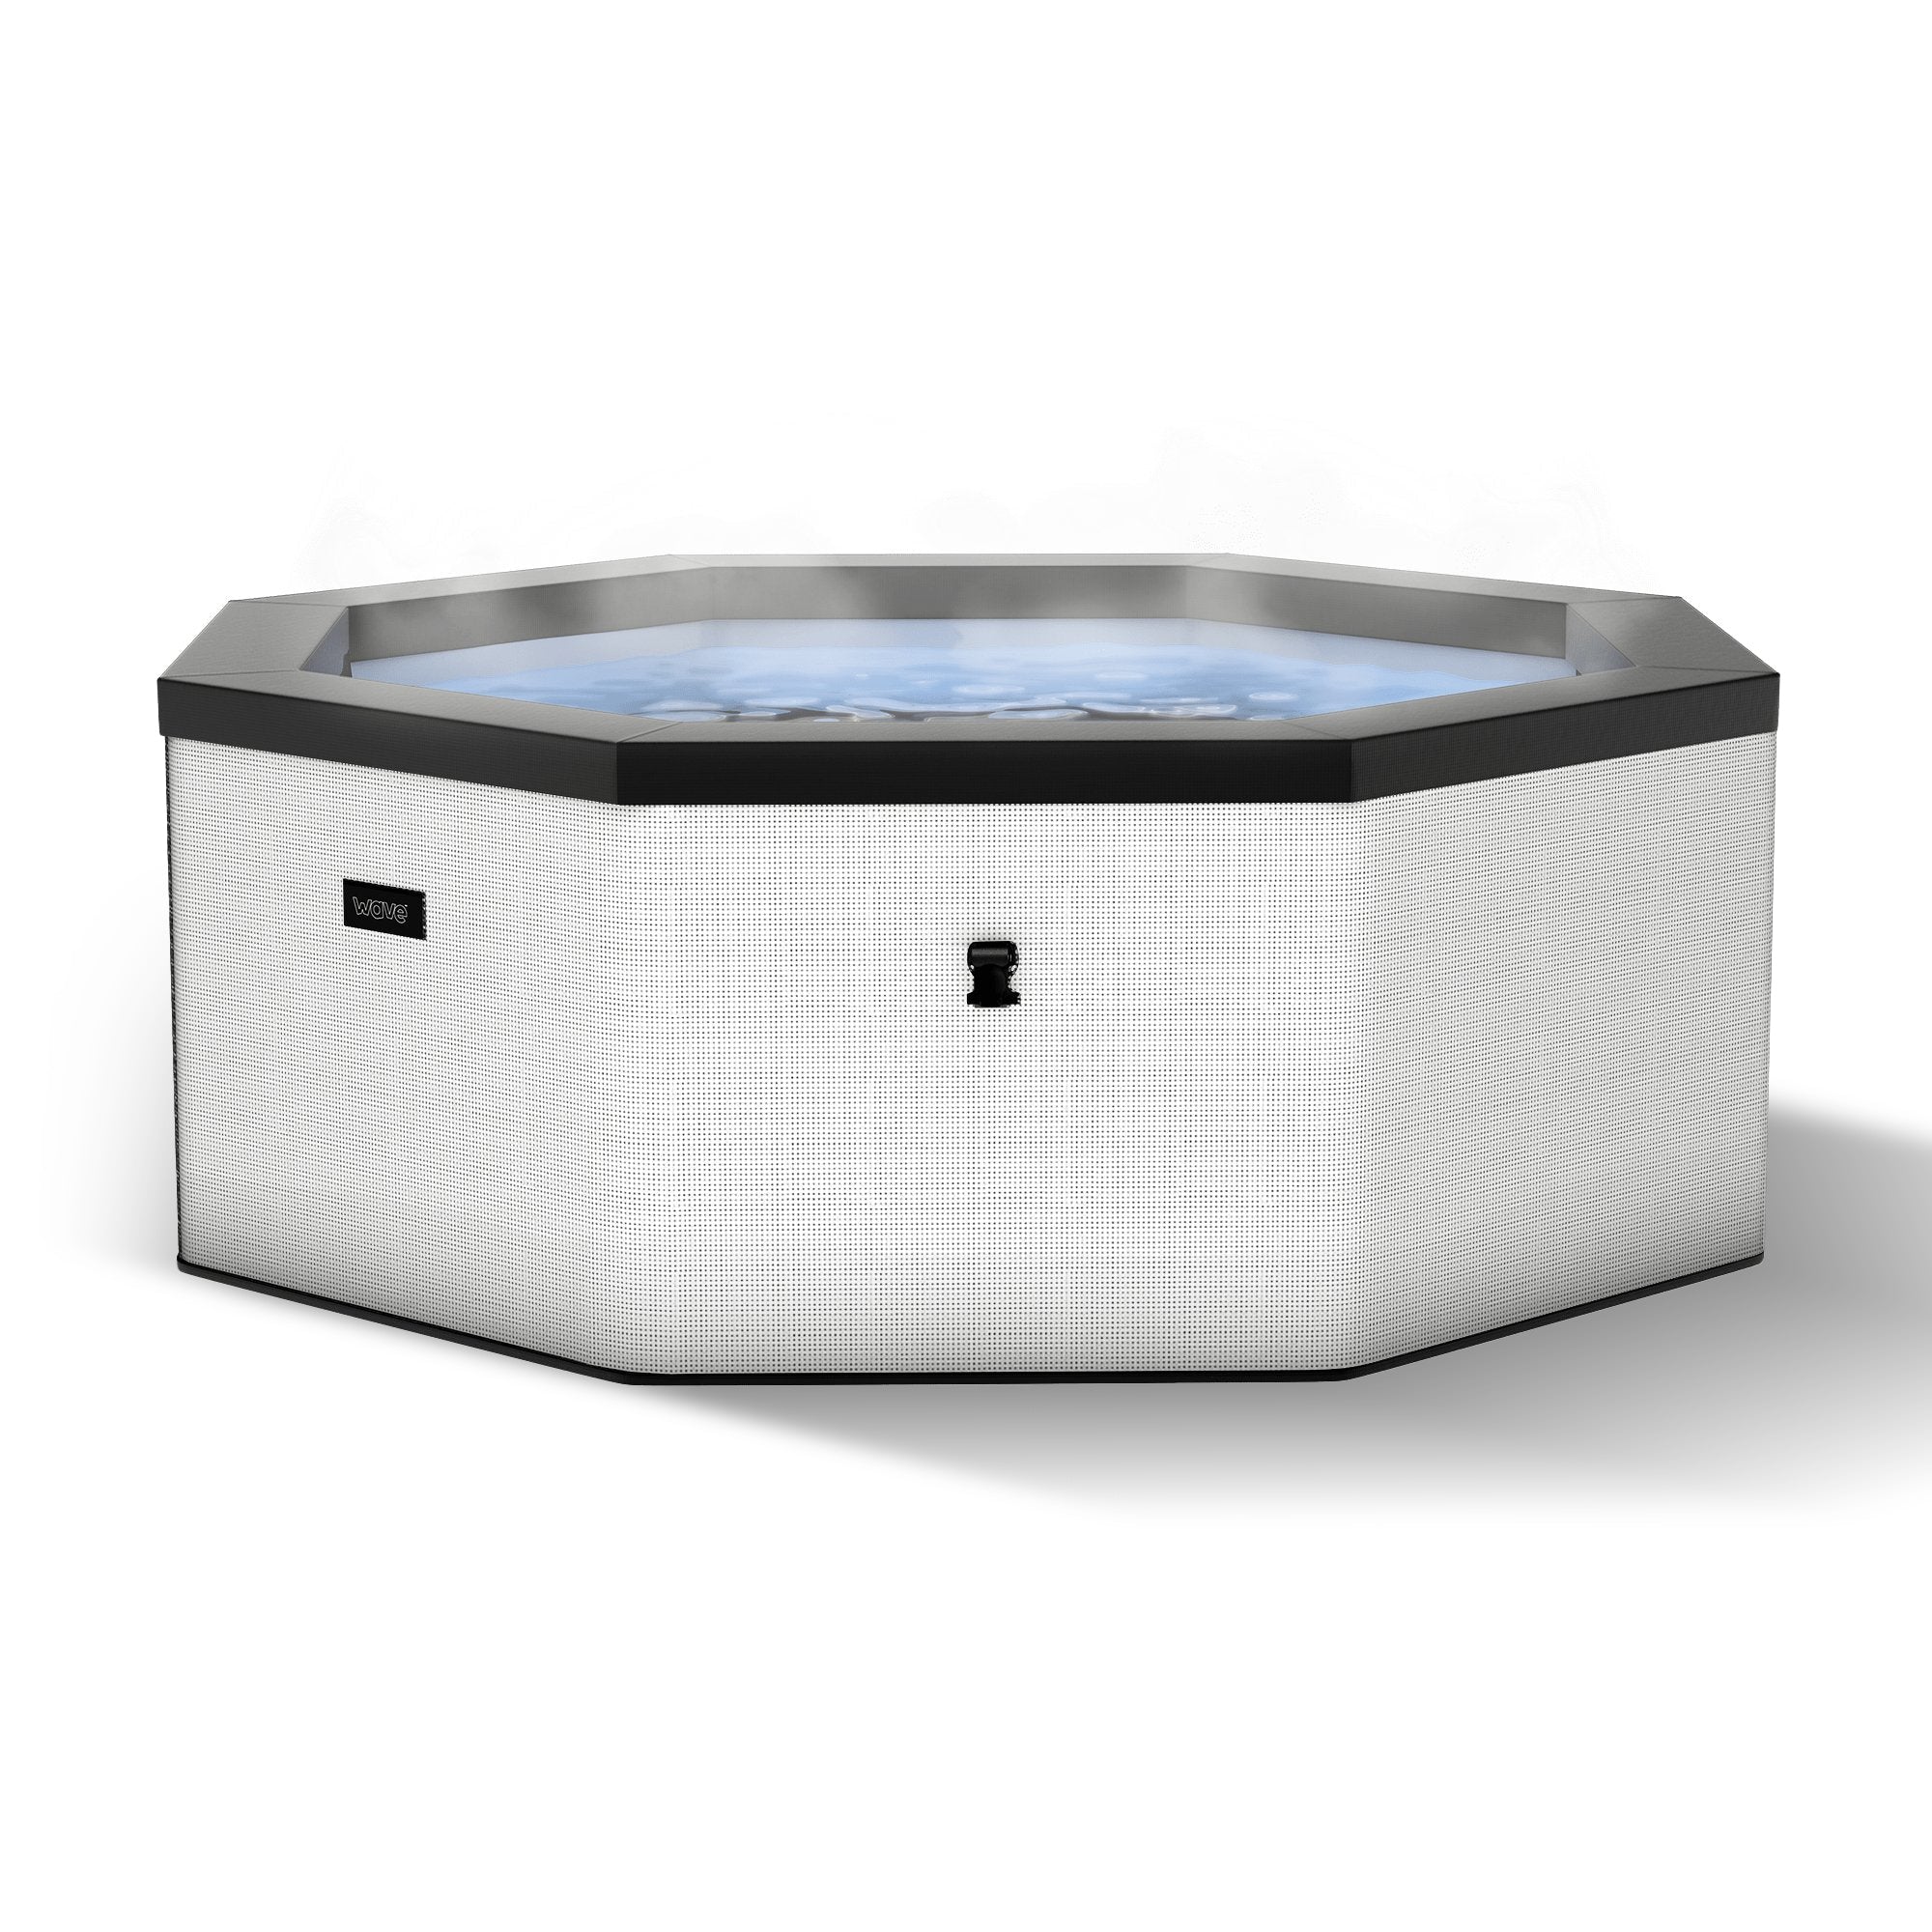
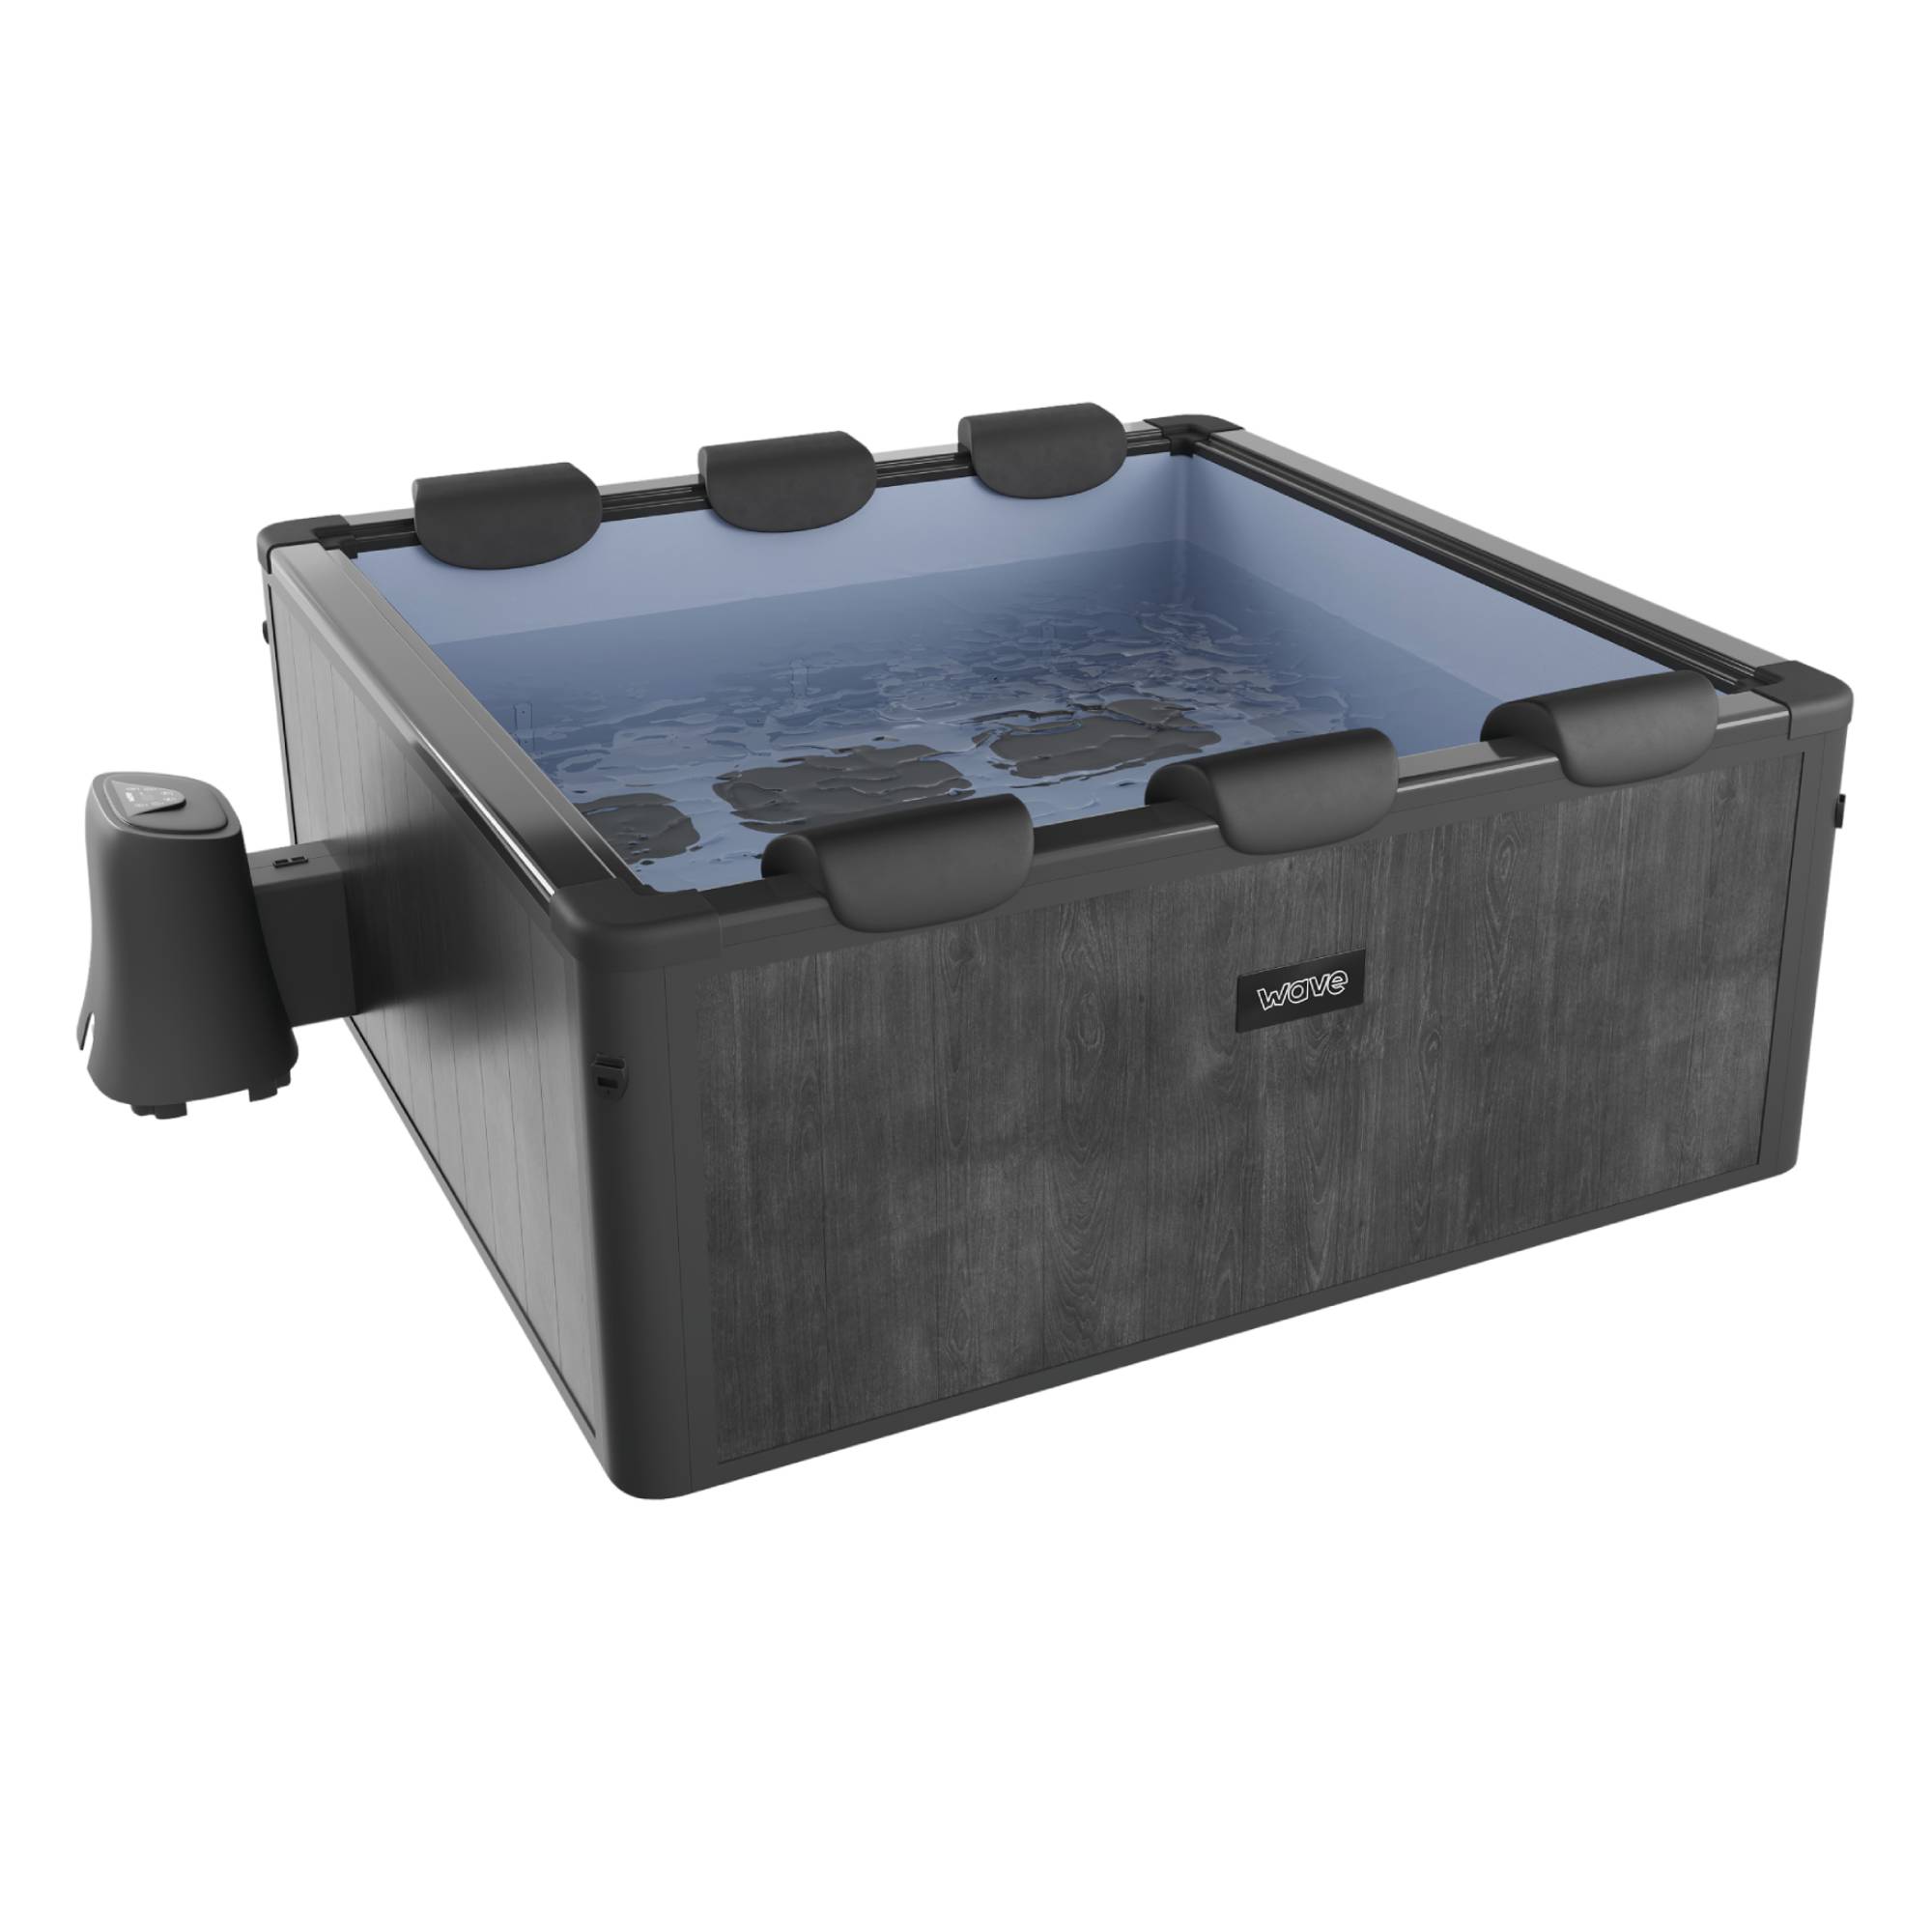
The Swift may look like a daunting task, but it takes no longer than our inflatable range and can be constructed in under five minutes. First off, fold out external liner (the darker rattan design) and arrange the foam pads in octagonal fashion. Ensure that the holes in the foam padding correspond to the area of the liner with black rings. Once all pads are fitted liner should stand taut and remain upright.
Now fold out the internal liner (light grey PVC) and connect the 3 connector pipes with the shorter of the 3 connected to the black valve on the spa body, proceed to connect to others to the remaining 2 valves. Place the liner inside the foam walls and align the connectors with the corresponding holes, thread them through and ensure that the translucent drainage hose is also threaded through the hole in the spa wall.
Now fold the internal liner outwards so that the rim of it flops slightly over the spa wall to meet with the external liner and the zips align. Zip around the top of the tub and affix the connectors to the corresponding valves on the heater unit, remove the suction caps and affix the filter cartridge inside the housing and onto the lower suction fixture on the internal spa wall.
Remember to plug in the internal drainage valve. Clip on the waterproof cover, set the heater function to max and let the pump do the rest of the work!