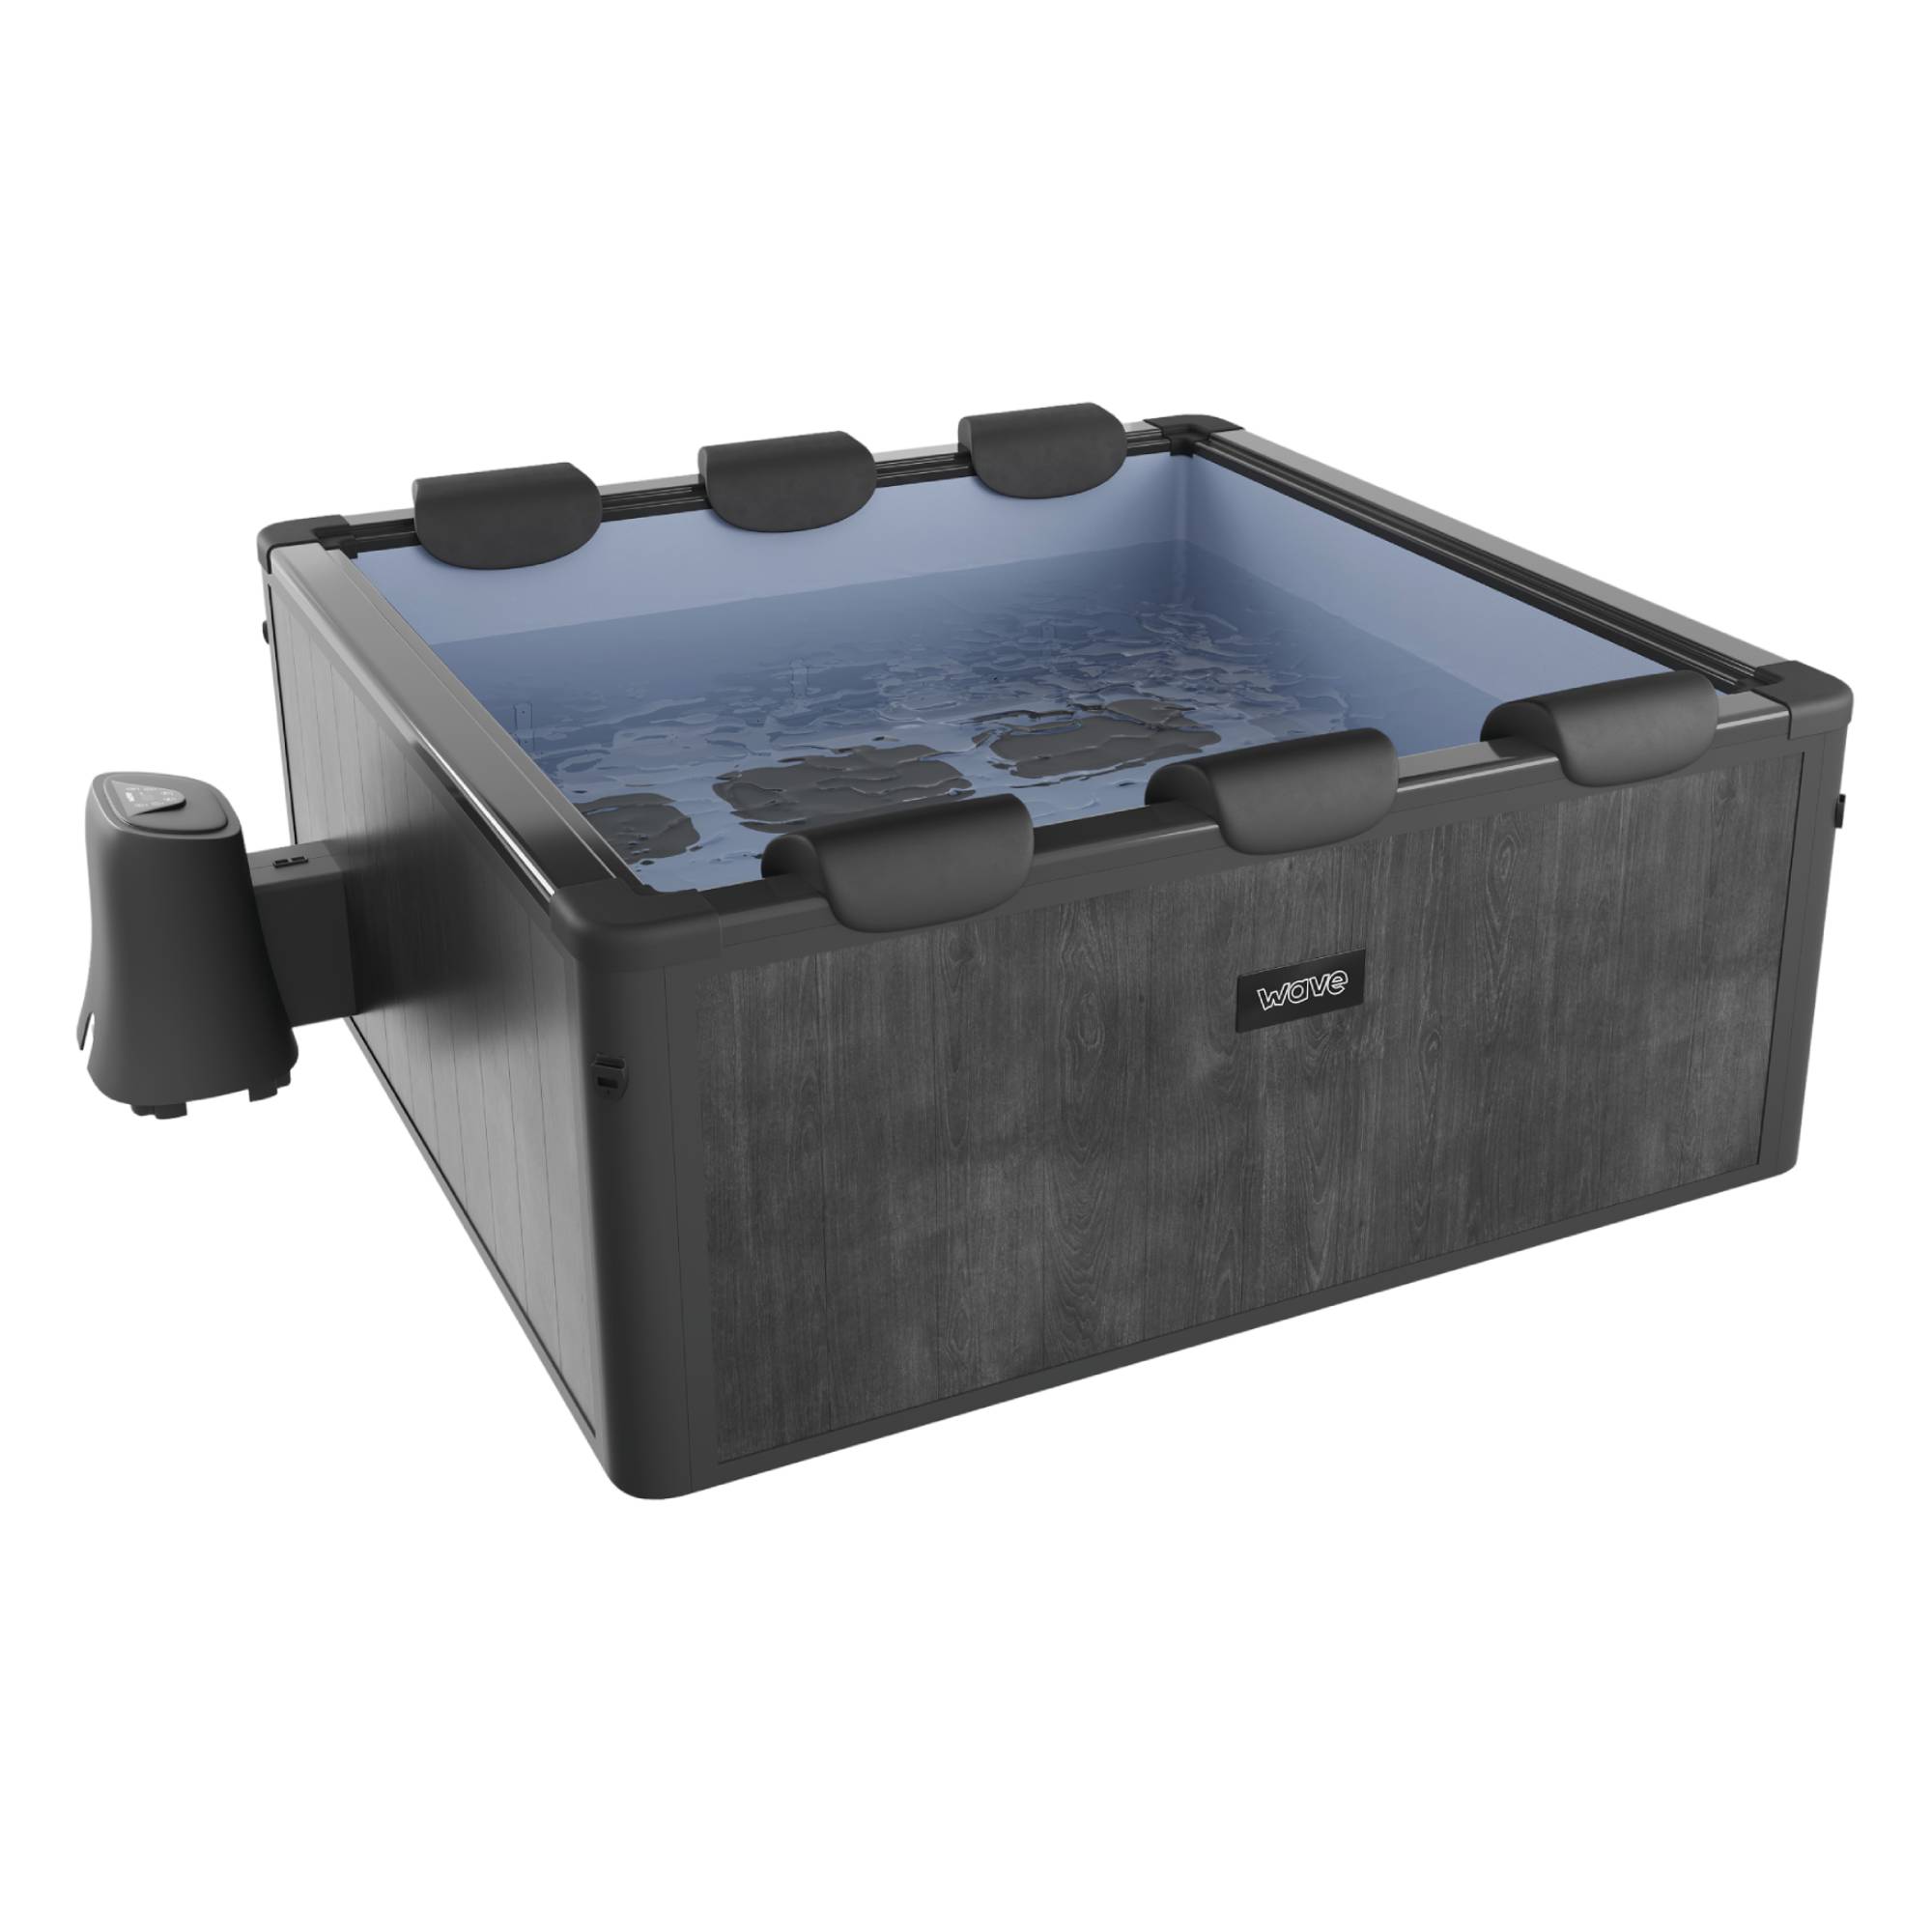
Rigid Eco-Foam Spas
View step-by-step guidance for everything you need to know, including:
• Easy Setup and Assembly: Get your tub ready quickly and correctly.
• Safe Operation and Controls: Learn how to use the pump, heater, jets, and filter system efficiently.
• Essential Maintenance: Detailed instructions on cleaning, chemical balancing, and winterization to keep your tub in top condition.


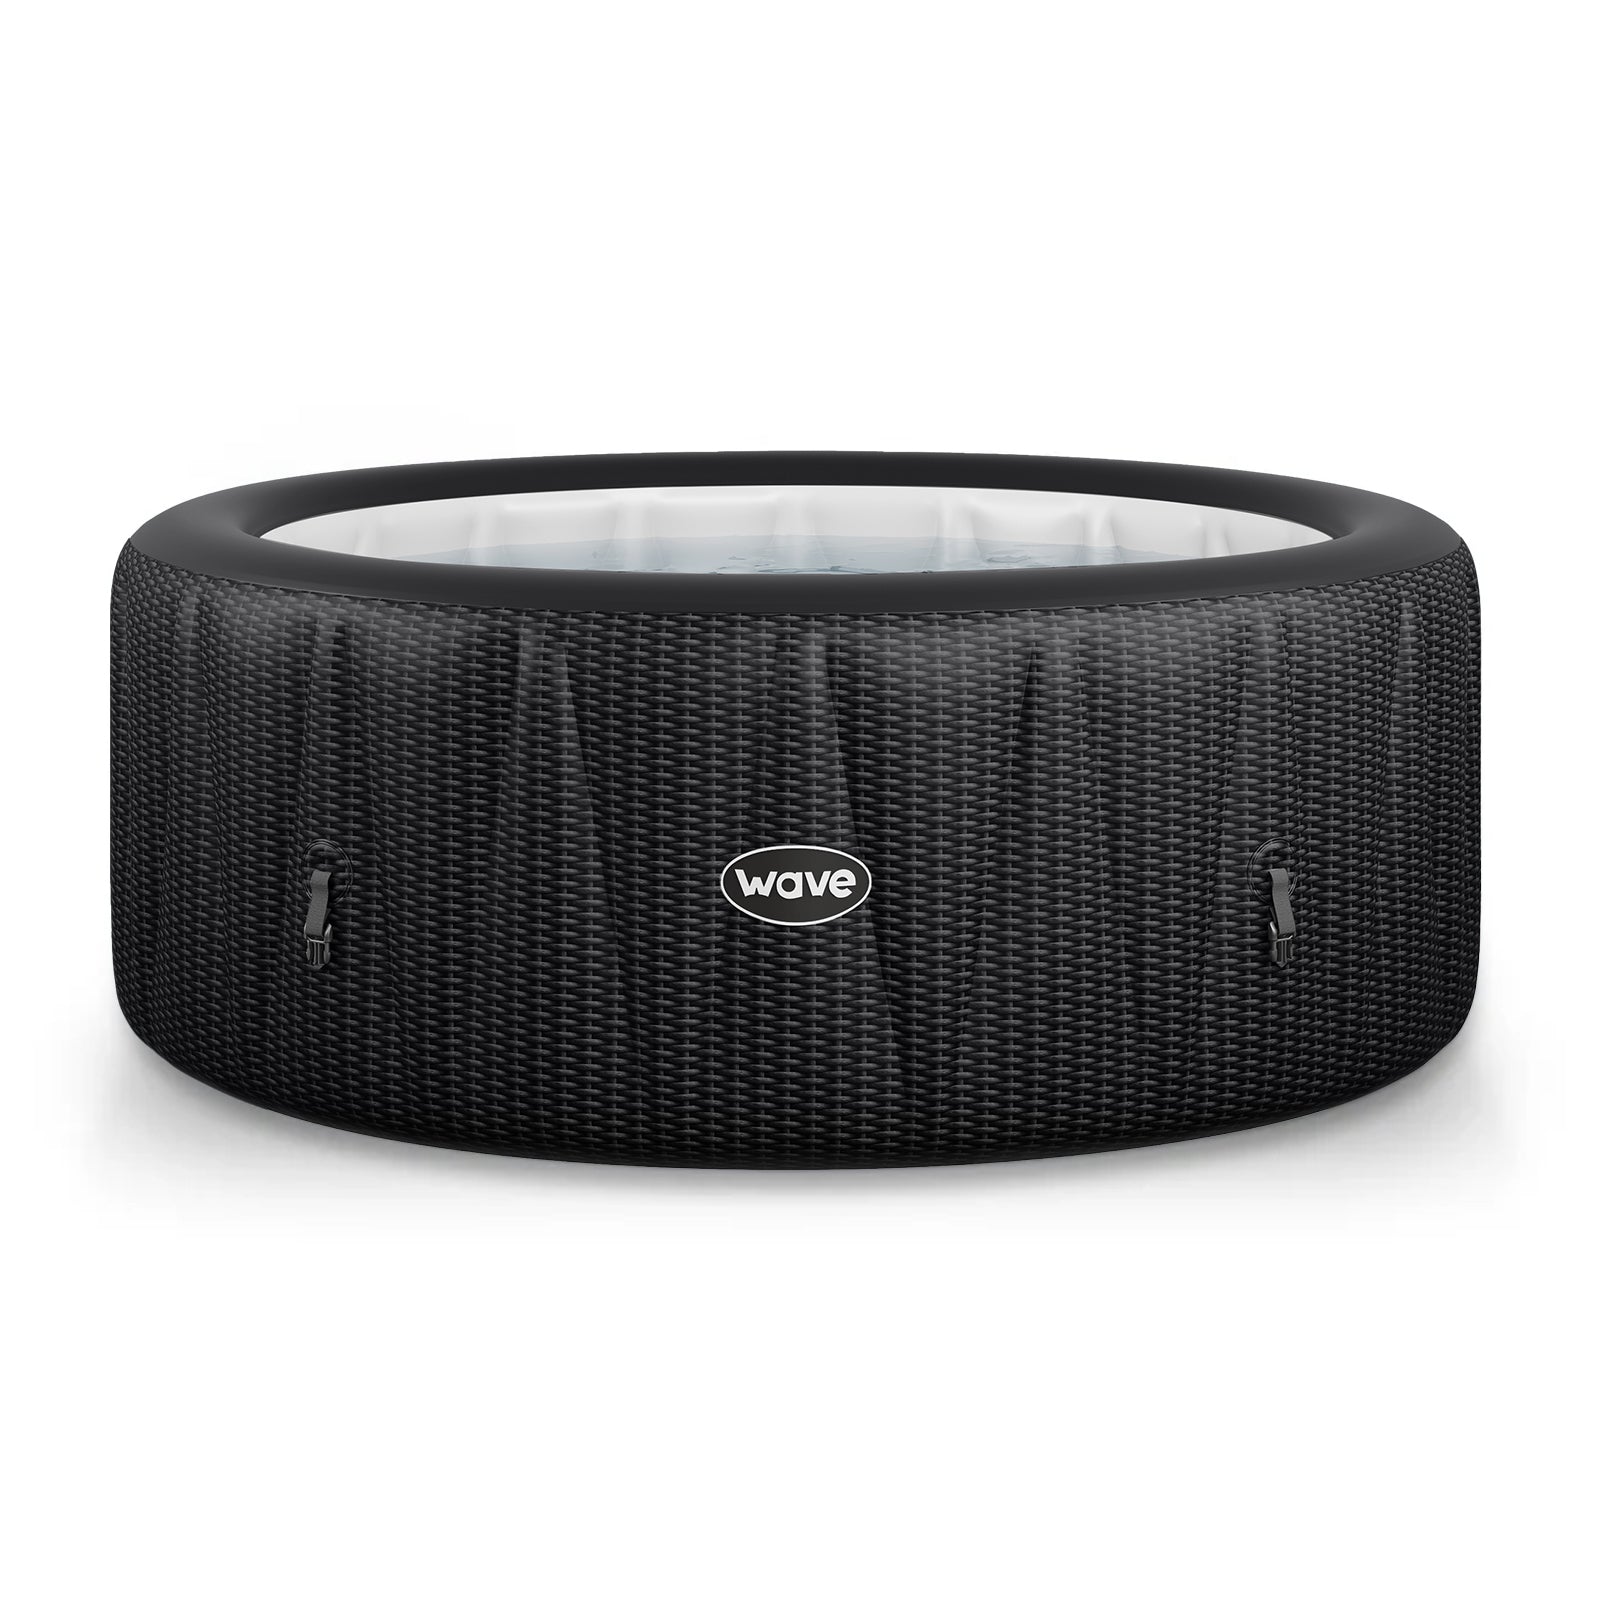
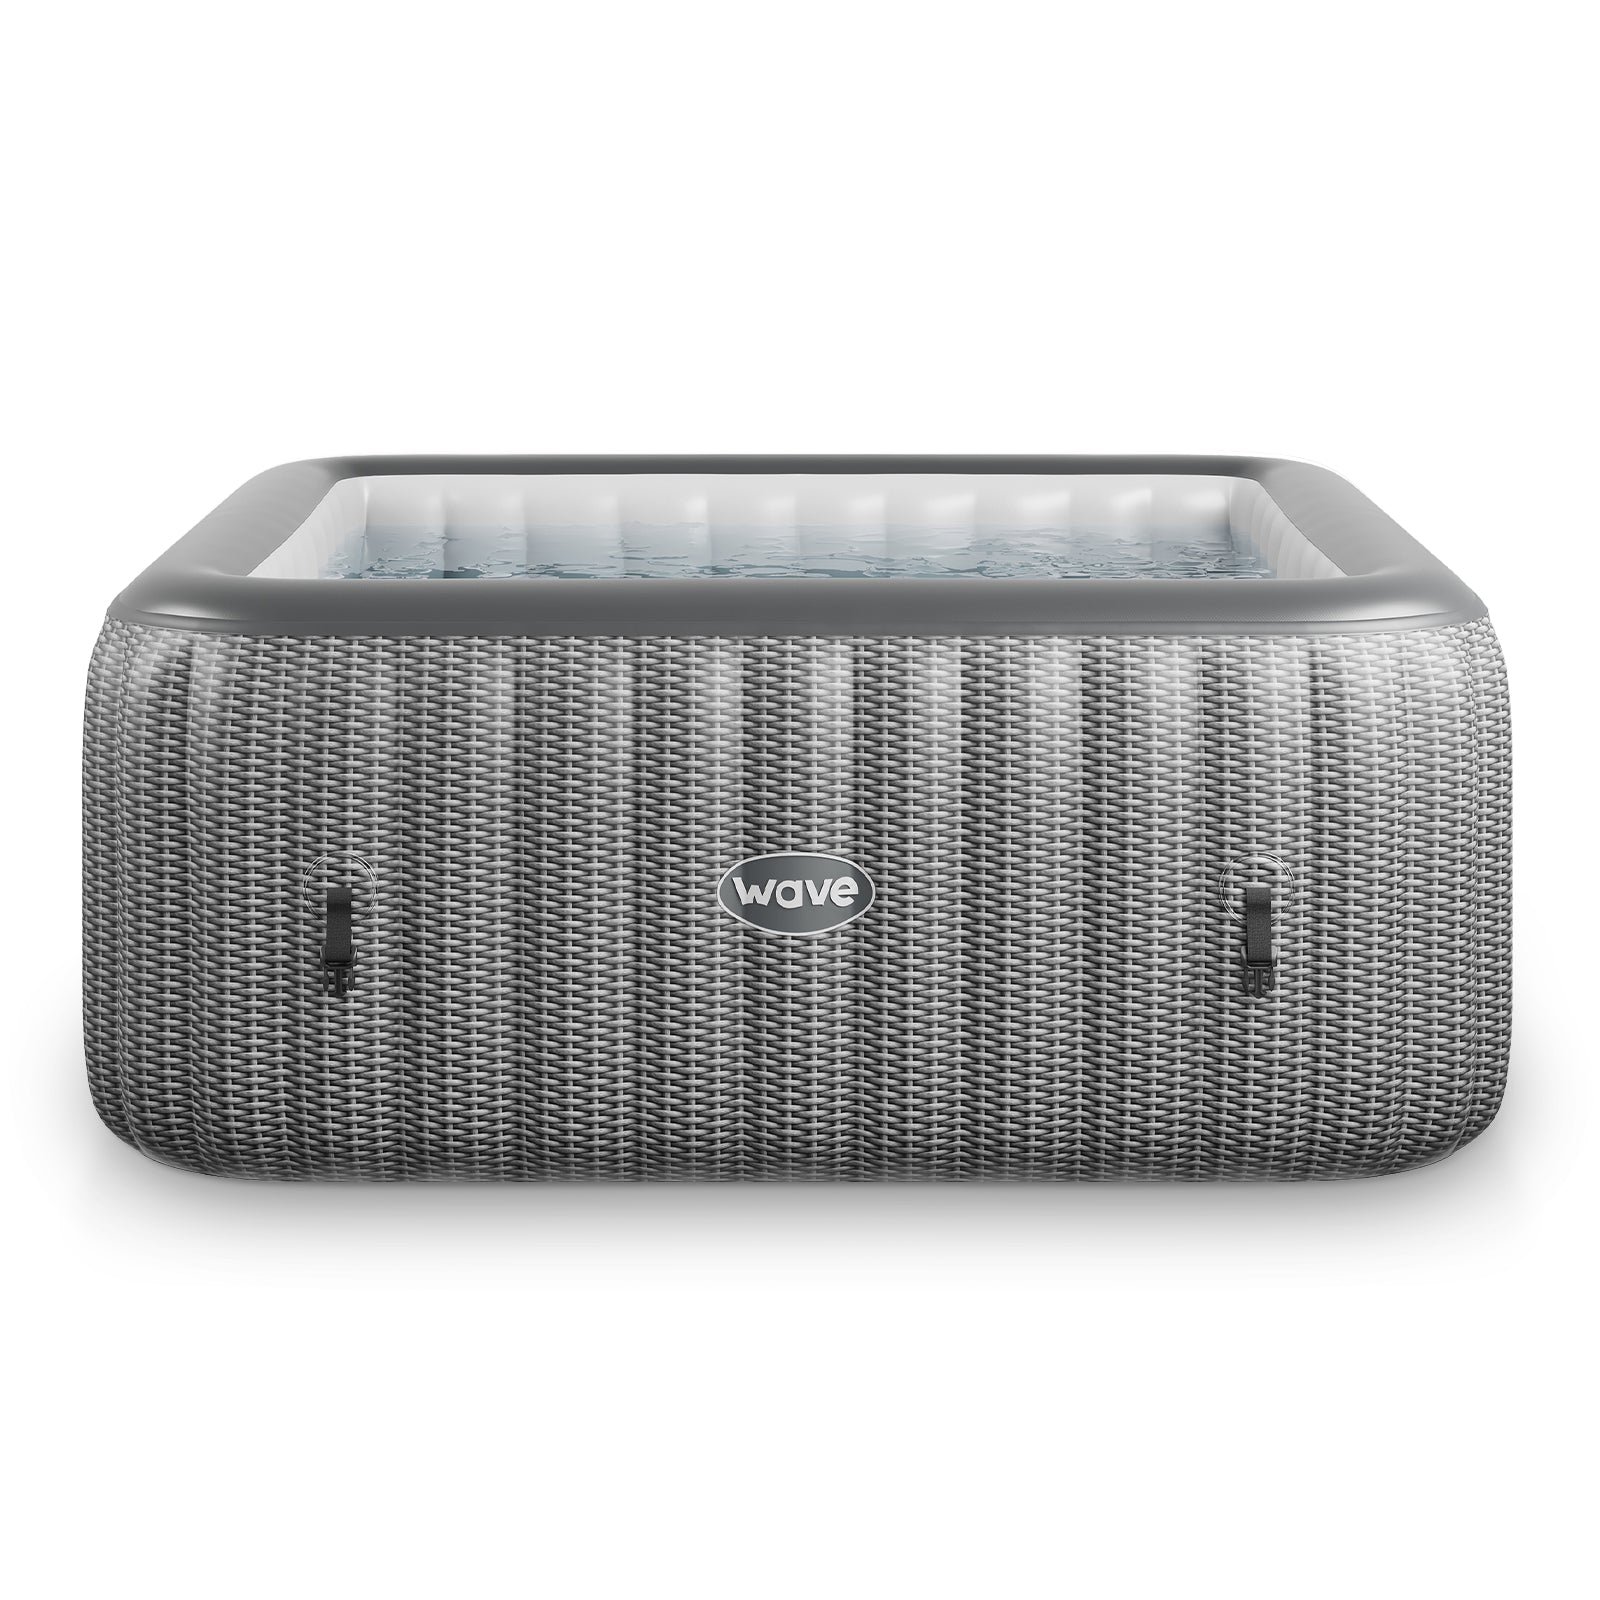
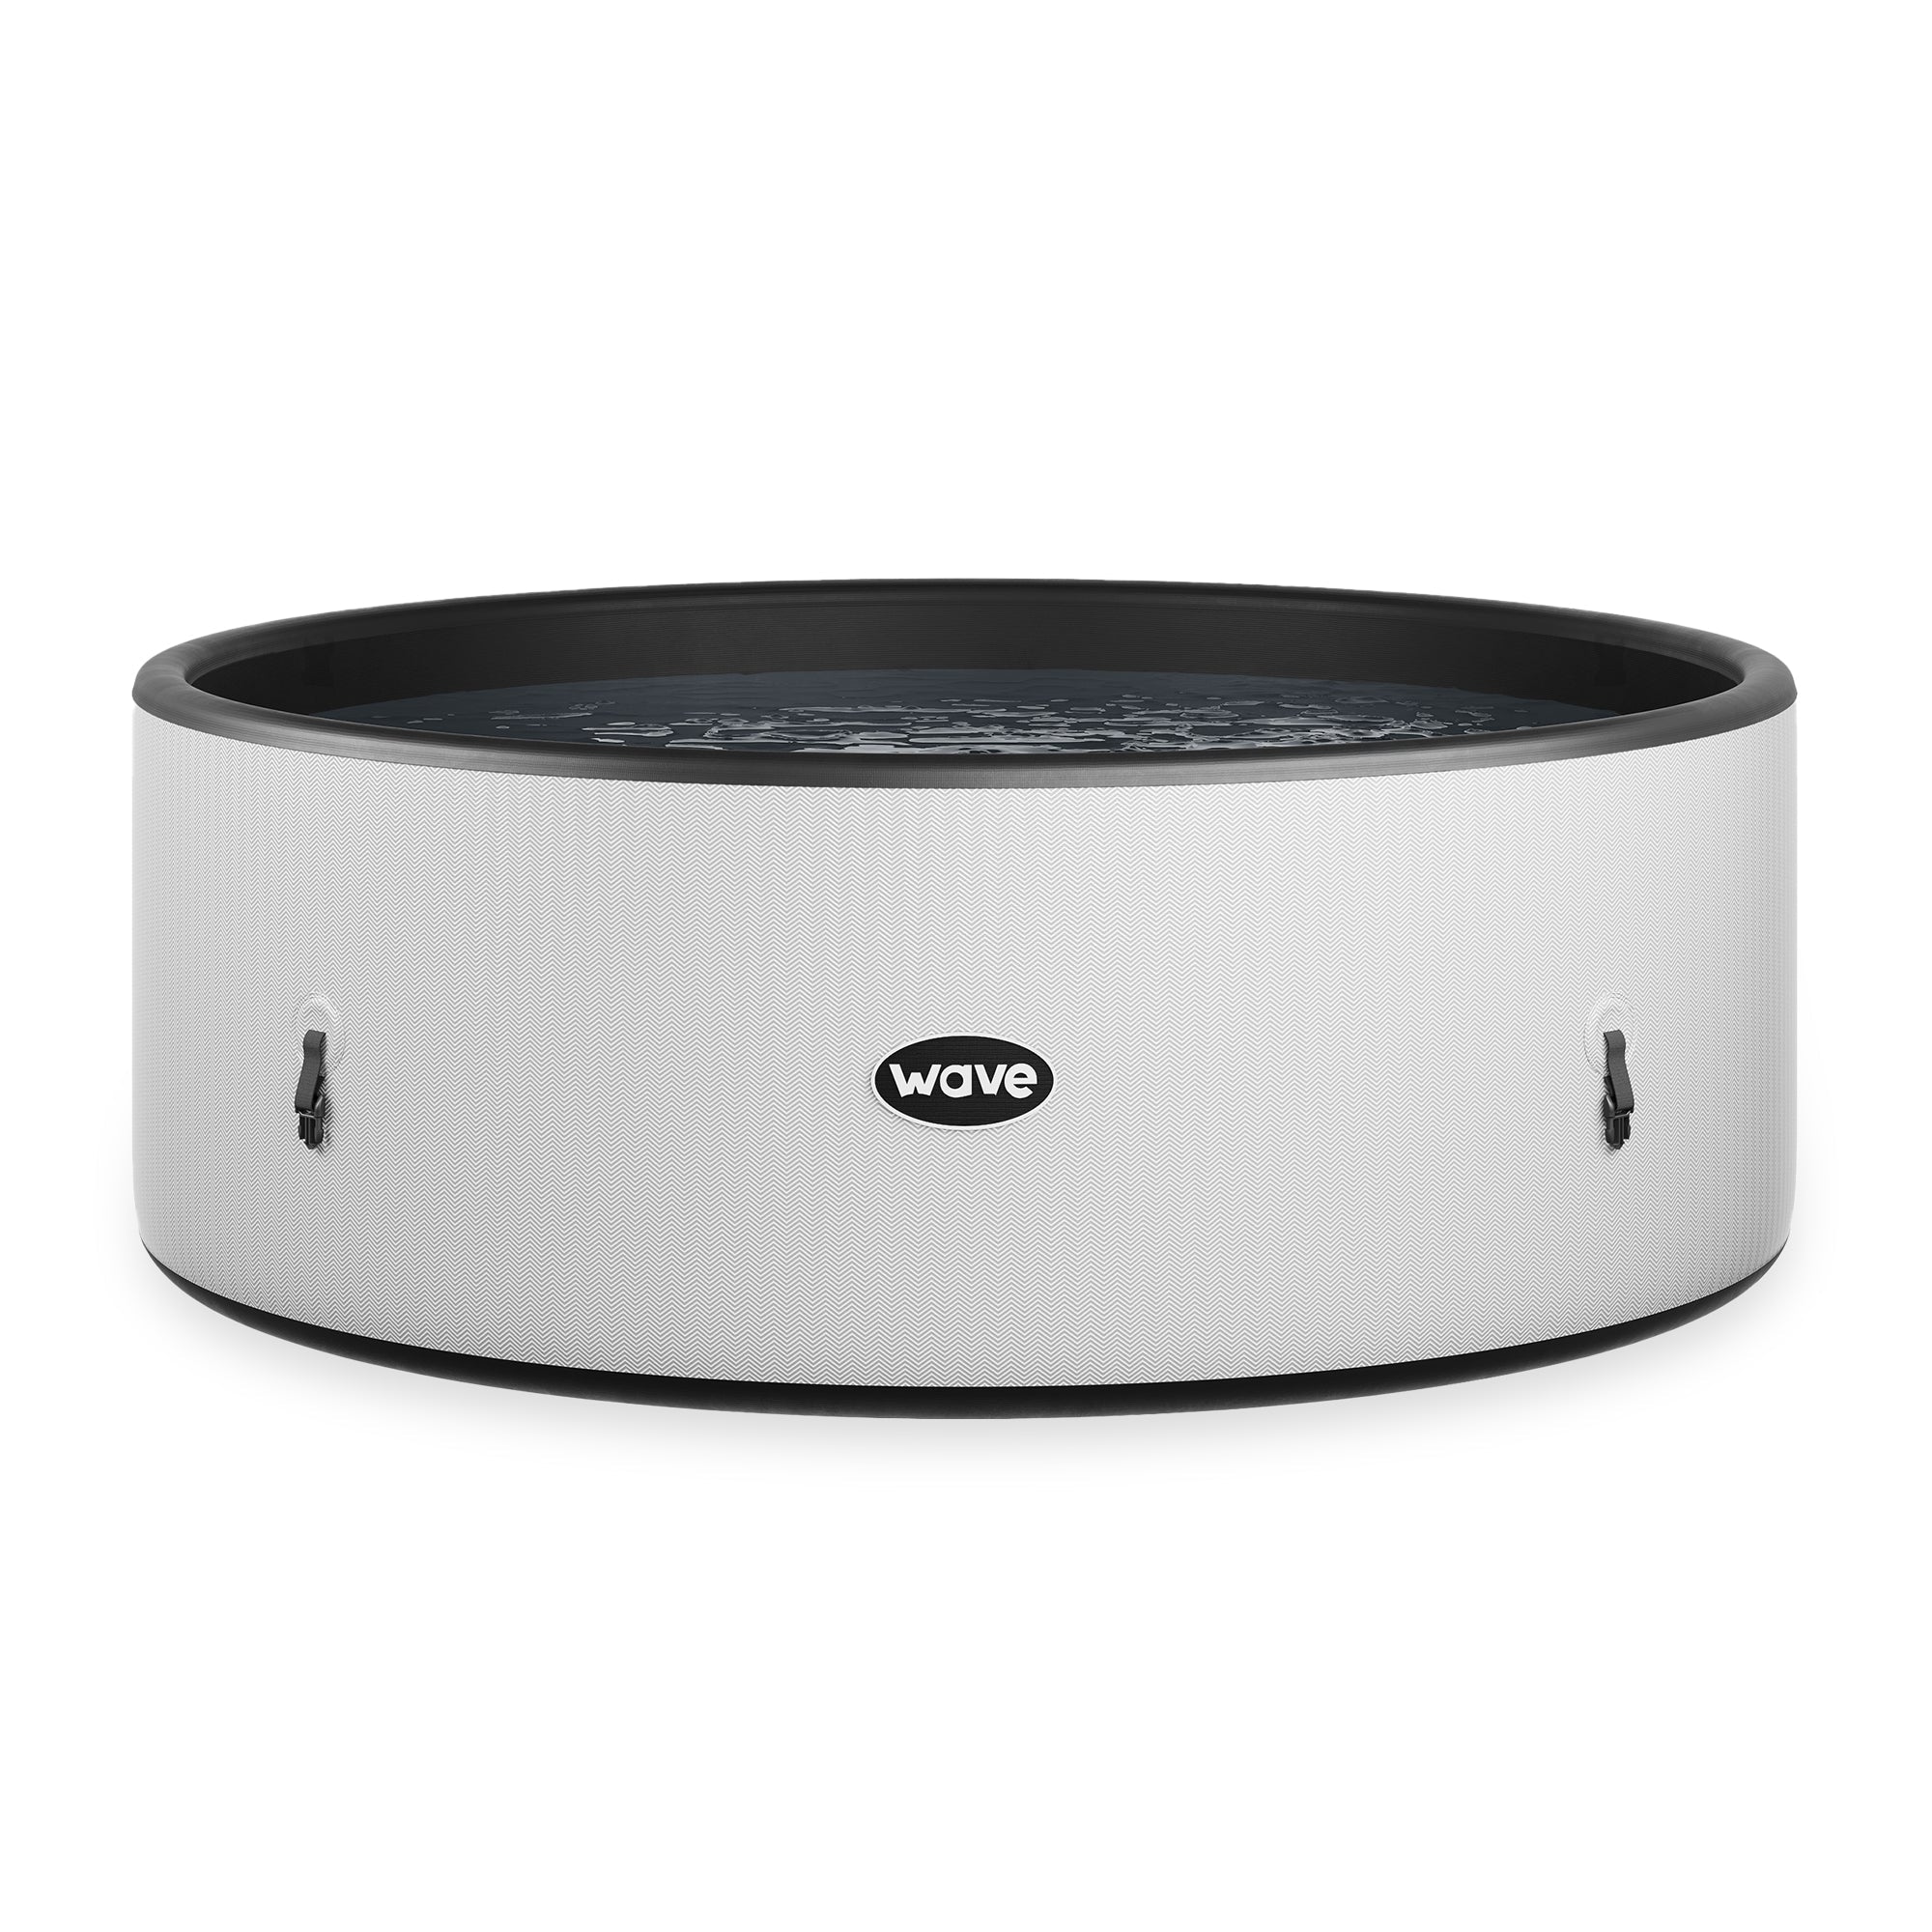
Portable Inflatable Spas
Our comprehensive guides offer simple, clear instructions on:
• Quick and Easy Inflation: Steps to safely set up and fill your tub in minutes.
• Controlling the Fun: How to operate the pump, heater, bubble jets, and filtration system.
• Trouble-Free Maintenance: Best practices for water treatment, cleaning, storage, and minor repairs.
The Ontario
Luxury Frame Spas
These manuals are your essential resource on:
• Professional Installation: Step-by-step instructions for site preparation and structural setup.
• Advanced Control System Operation: Mastering the digital interface for jets, lighting, heating schedules, and therapy modes.
• Premium Care & Maintenance: Schedules and techniques for water chemistry, filter cleaning, and frame care.
Setup Videos
Our setup videos offer visual, step-by-step instructions that complement your instruction manual, covering:
• Unboxing to Inflation/Assembly: See the entire process, from opening the box to getting the tub structure ready.
•Connecting the Pump/Heater: Clear demonstrations on securely attaching and priming the essential components.
•Filling and First Start-Up: Tips on correct water levels and initial activation of the heater and jets.